Intermediate versions: Design evolution to reduce investment
In this article, we will explore how, after thoroughly analyzing the challenges posed by our client, we implemented specific solutions to optimize the design and industrialization of the Zamak ball joint.
Through a process of close collaboration, we were able to make adjustments that not only improved functionality and aesthetic finish, but also enabled greater production efficiency and reduced associated costs.
Once the exchange of information with the customer had progressed, conveying the points discussed in the previous article (Simplifying parts for molding or how can we help you reduce investment), the designs evolved both to improve the process and to enhance the functionality of the final assembly.
Design evolution in this intermediate phase:
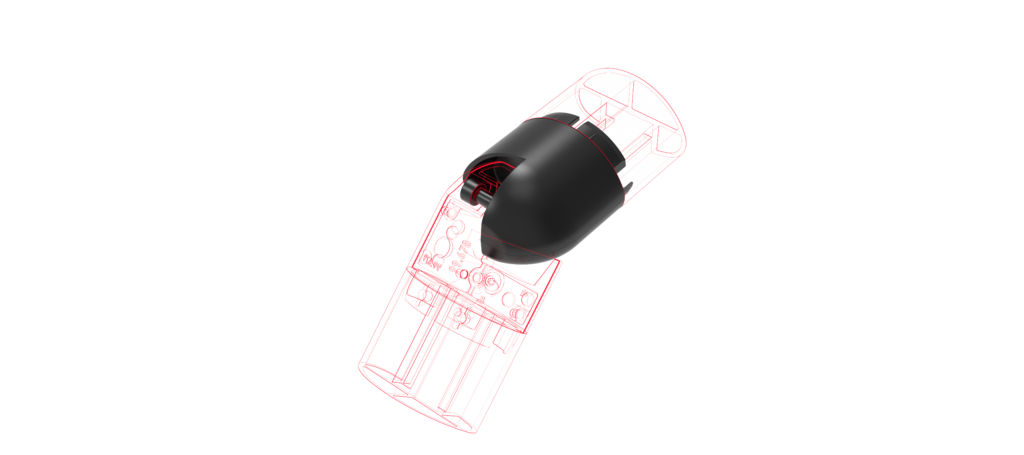
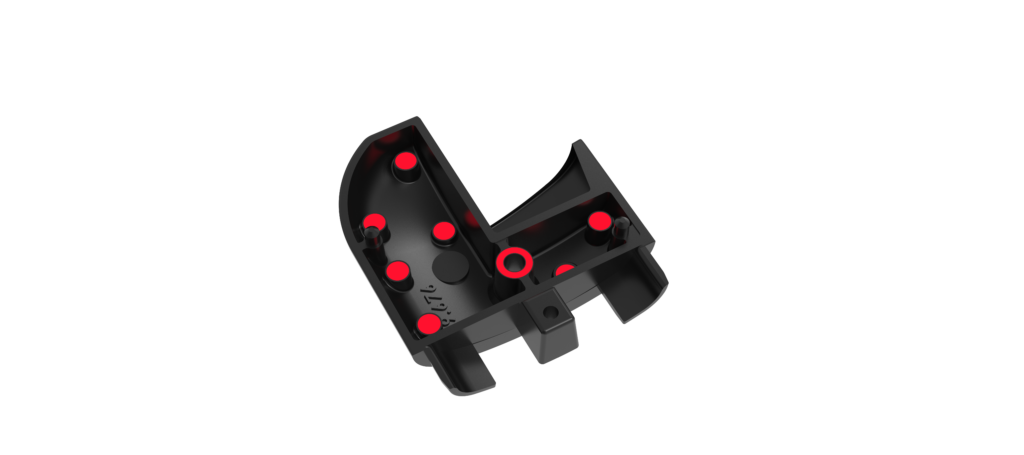
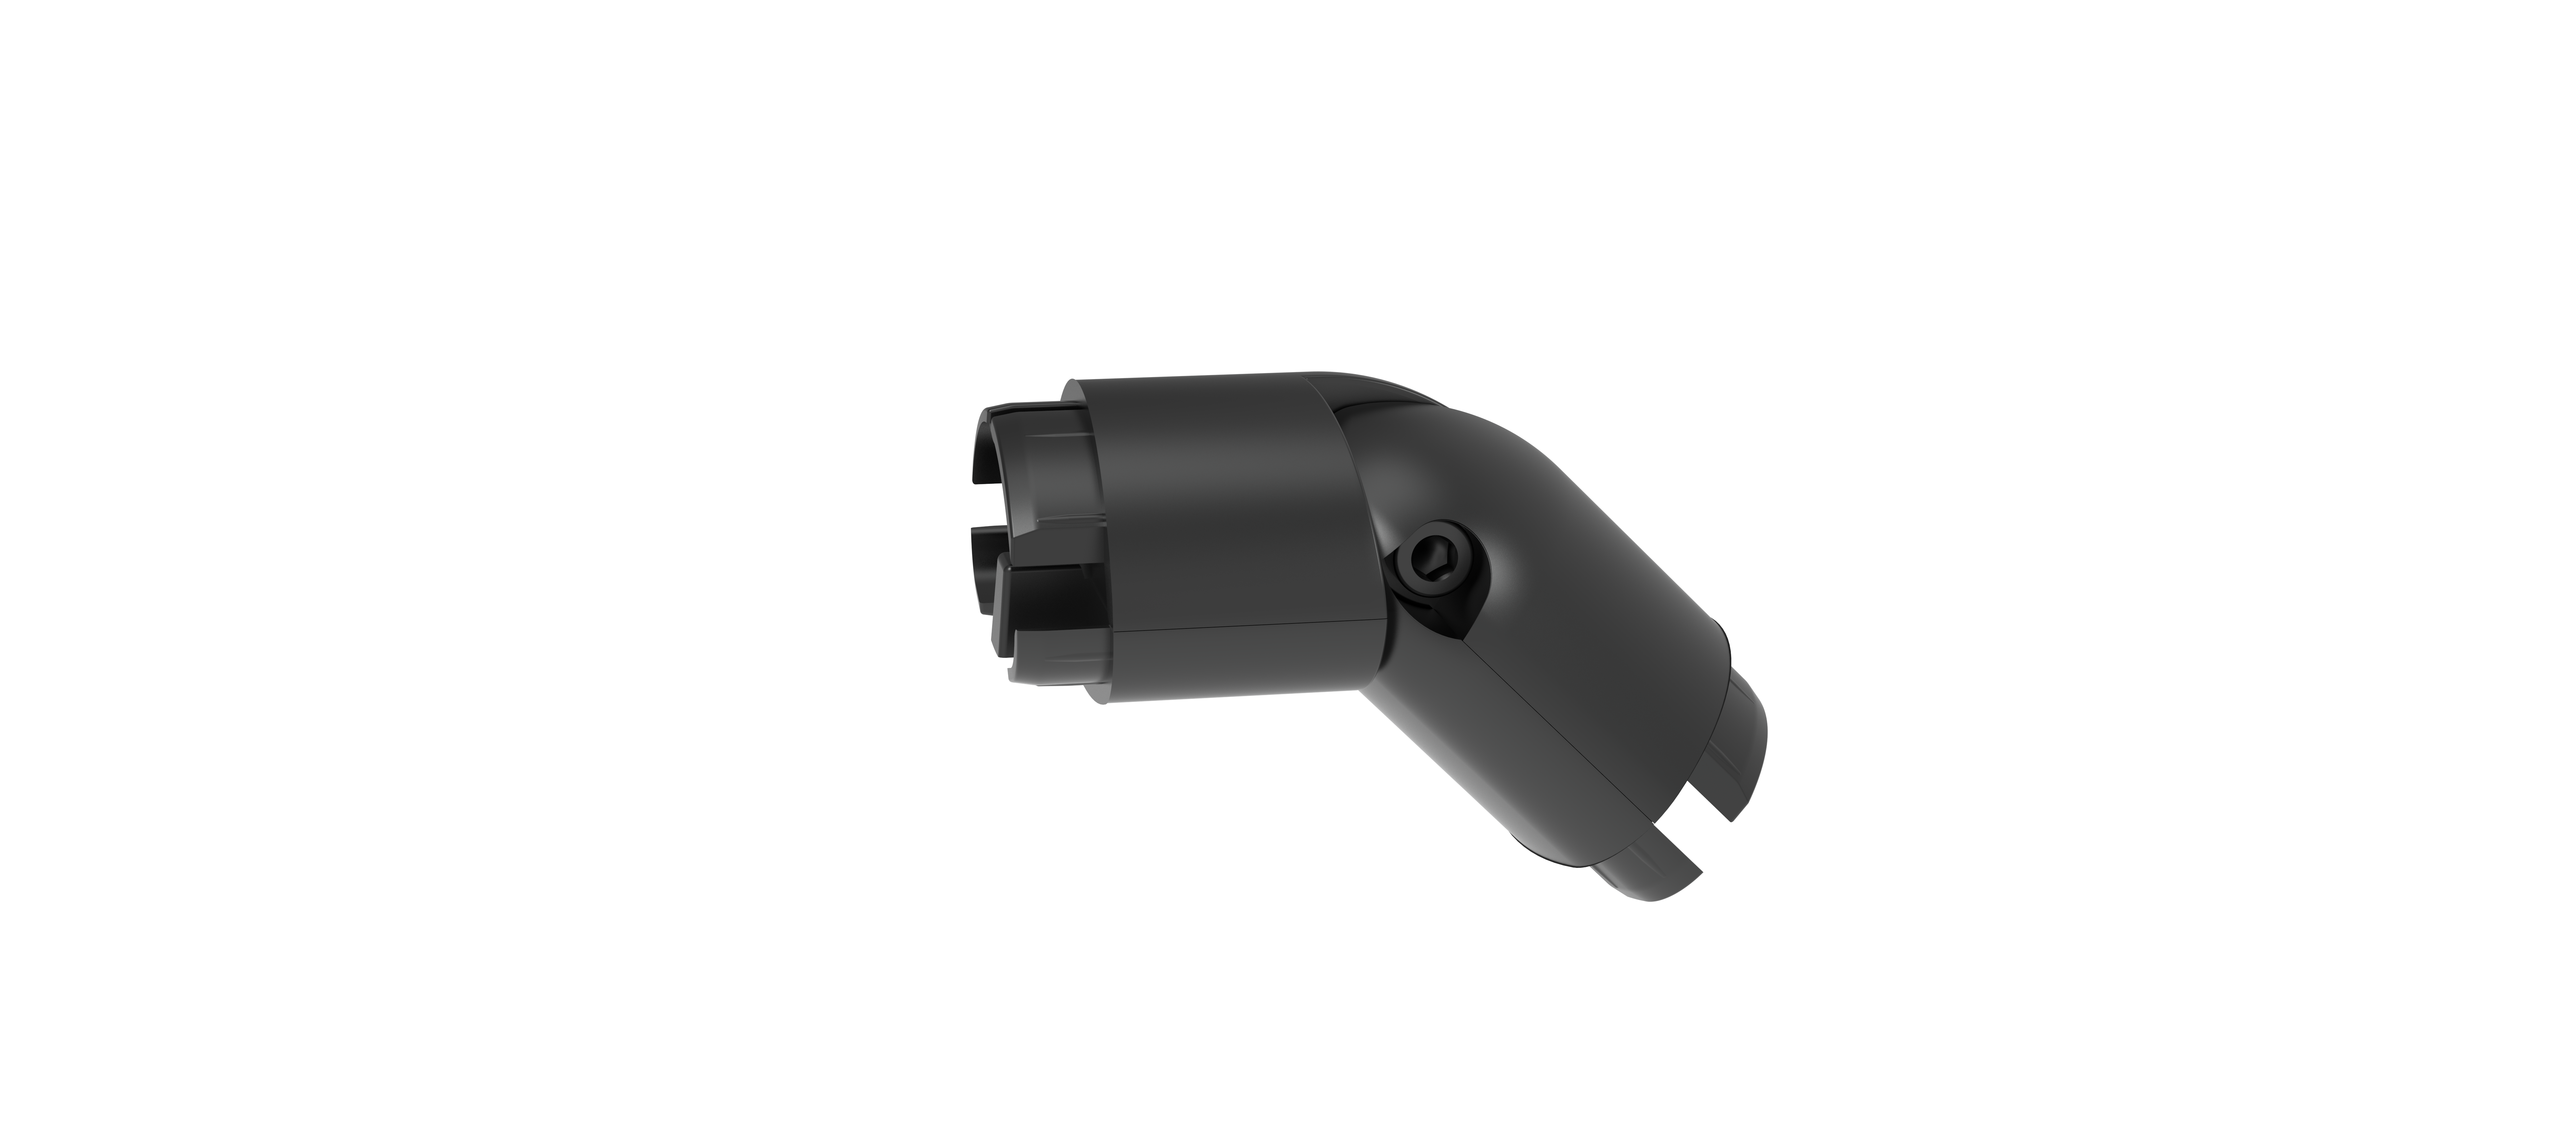
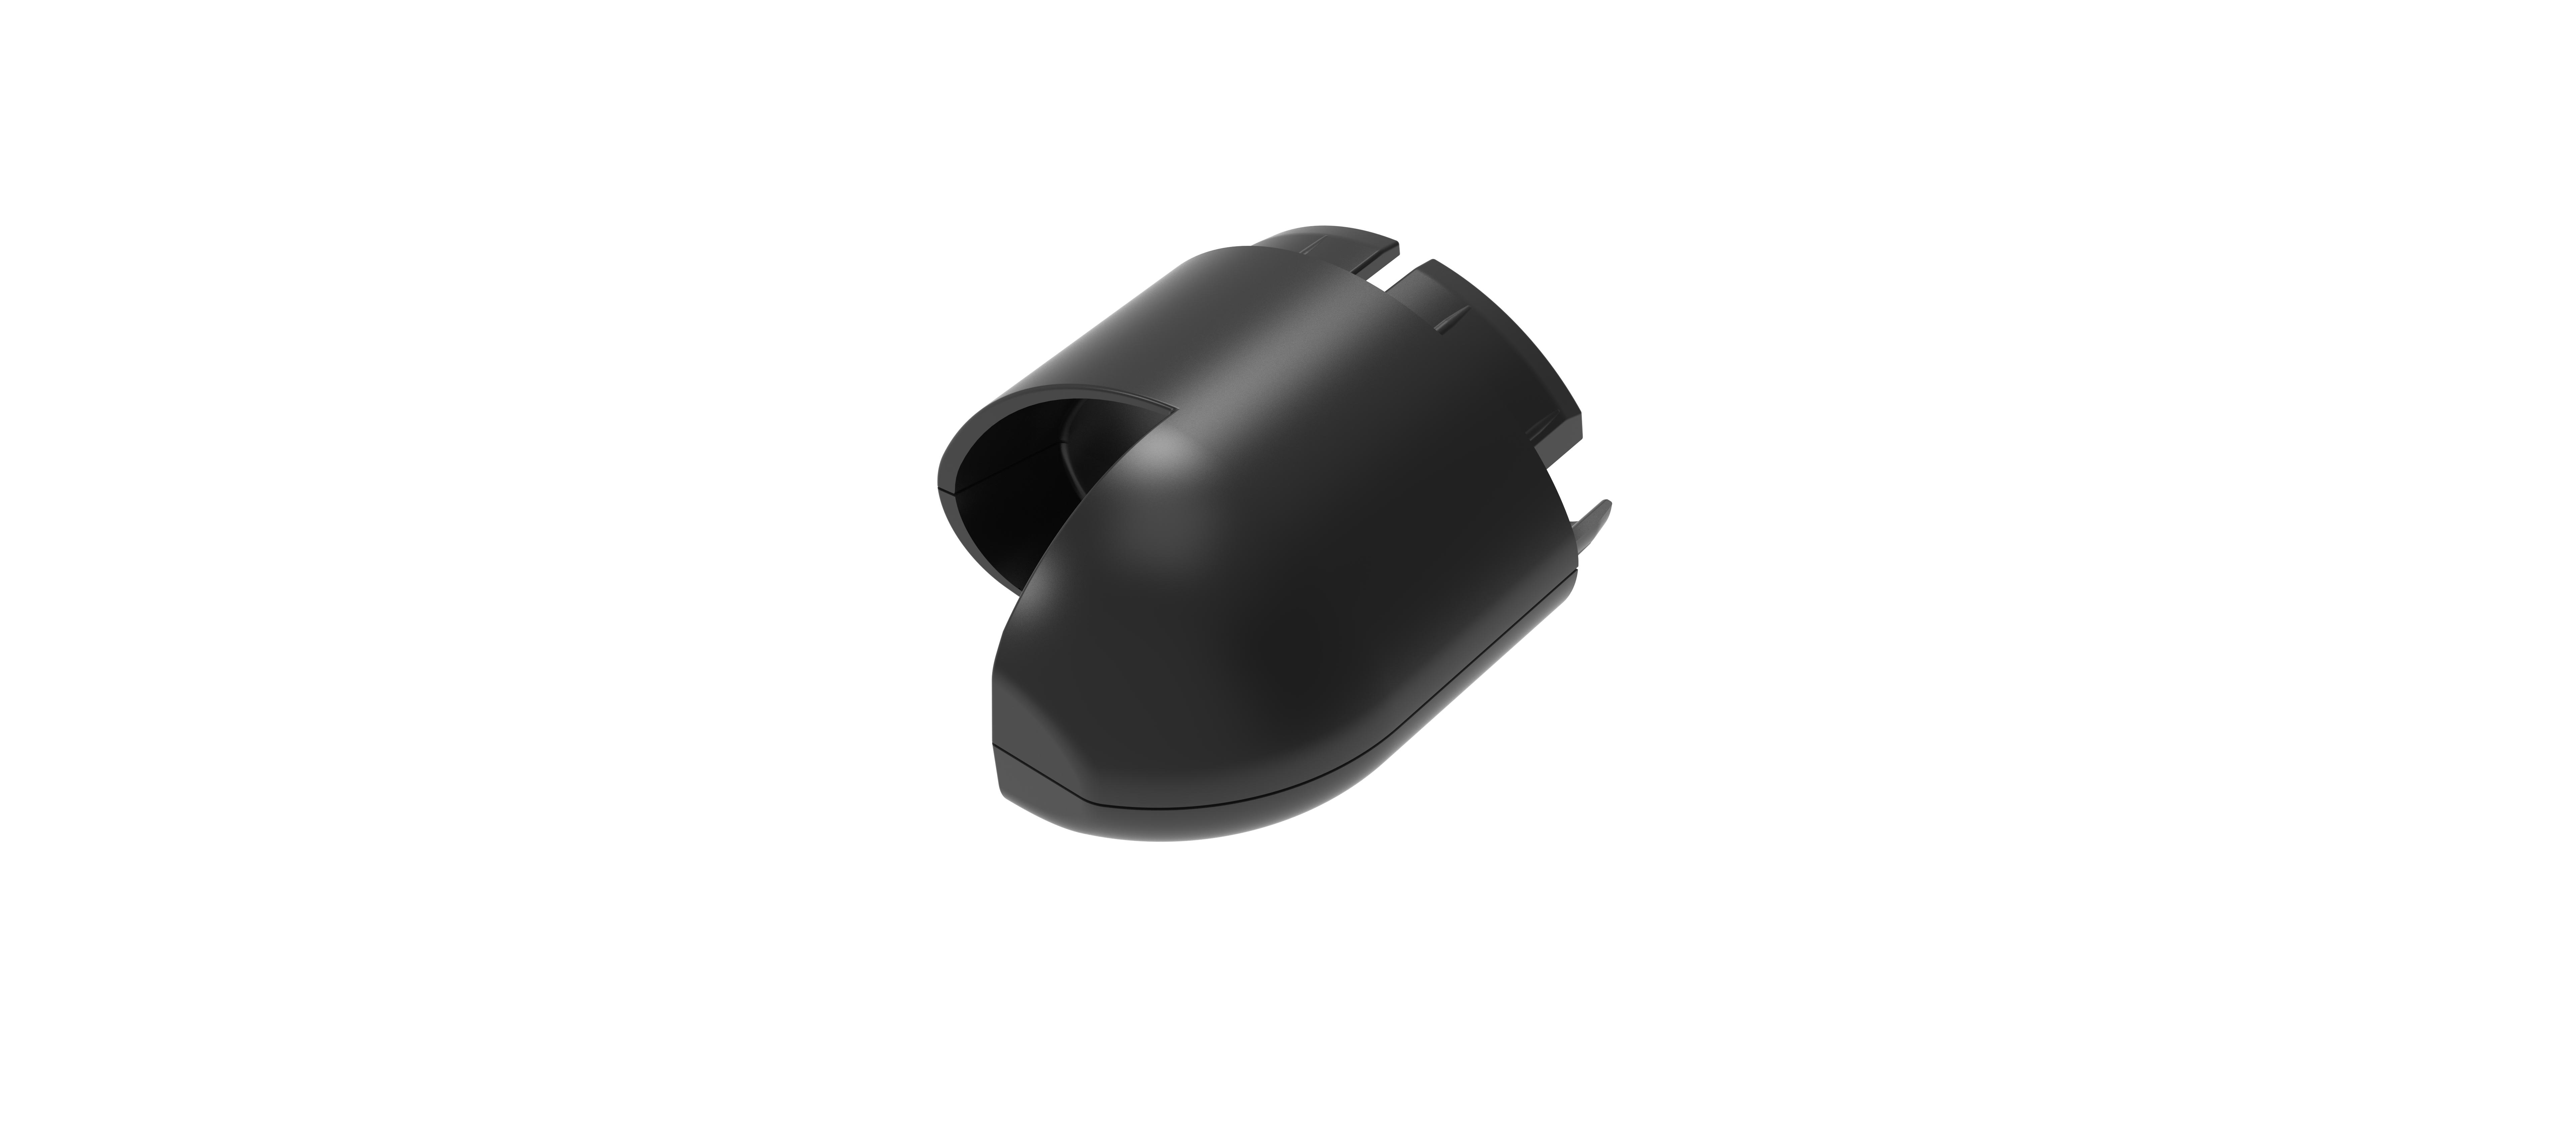
Emptying of the piece (both from the bottom and from the top), to avoid problems of mass accumulation (previously they were completely solid).
Elimination of impossible-to-mold geometries: areas of the parts that were “in shadow” for the molding direction and could not be molded even with slides were corrected.

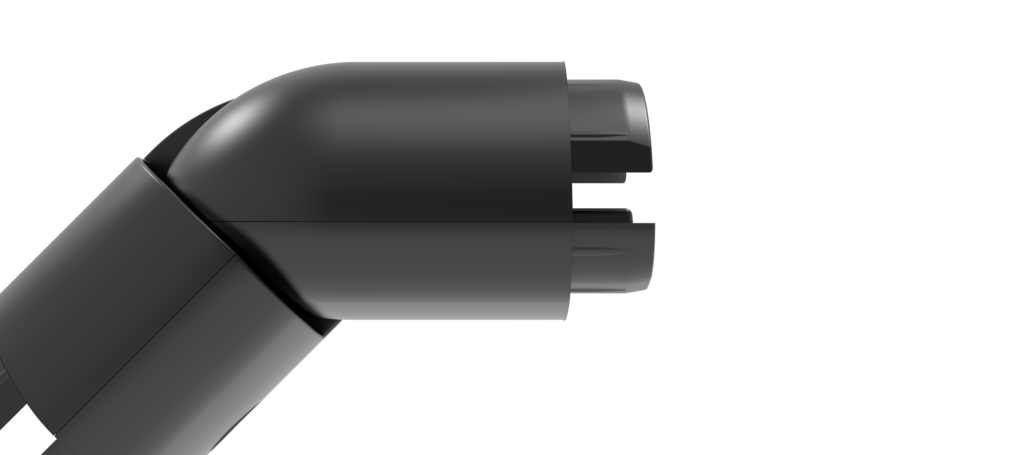
Tip cut (hidden in assembly) to improve molding and prevent interference with joint movement.
Correction of inaccuracies in the design. At this intermediate stage, there are no longer any poorly joined surfaces or areas of impossible thicknesses.
With all these changes, the pieces were now moldable, but there were still some points to be corrected:
On the one hand, the parts still needed multiple slides (which make the mold more complicated and expensive, as well as leaving marks on the parts).
On the other hand, there was still the problem of mold lines/closure lines, feeders, etc. on visible surfaces (the parts are aesthetic from all angles), and on top of that, weak areas were forming in the mold steel, especially in the slide area.
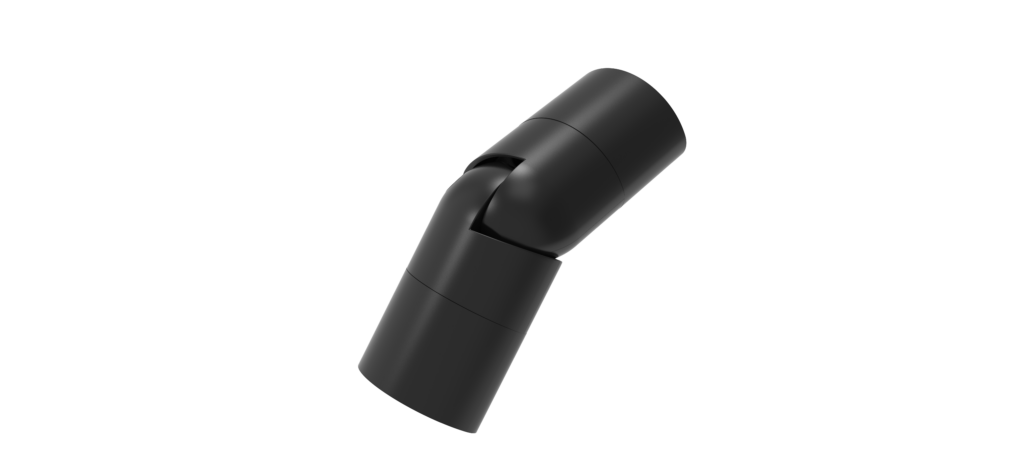
Furthermore, due to the need to give the part exit angles in accordance with this molding concept, the joint between the part and the profiles on which it was mounted was not entirely satisfactory, as there was a change of direction in the joint profile, as well as a “step.”
If you want to see how the final piece turned out after overcoming all these challenges, don’t miss the last installment of this series, where we’ll show you the final result and how each adjustment contributed to improving the quality and functionality of the product.


Contact us
We’ll be happy to provide help for your projects and resolve any doubts as soon as possible